Category: Power Wheelchair
Posted by 2026-01-03 10:01
hoyer lift manual
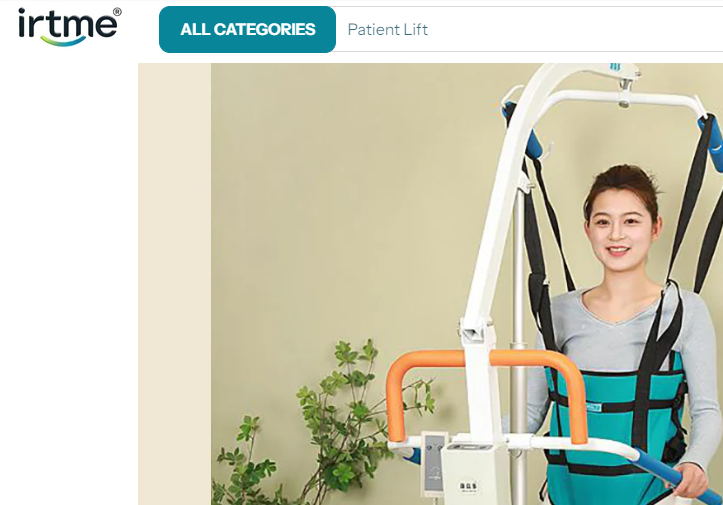
Hoyer Lift User Manual Explained: A Step-by-Step Guide to Safe Transfers
The Hoyer Lift is an essential assistive device for helping individuals with limited mobility transfer between beds and chairs, assist with toileting, or support bathing. However, even the most advanced equipment can pose serious risks if used improperly—including patient falls, skin tears, caregiver back injuries, and even equipment tipping. Therefore, carefully reading and following the official Hoyer Lift user manual is a prerequisite for ensuring every transfer is safe, effective, and dignified.
Based on the general operating logic of mainstream Hoyer brands (now part of the Arjo Group) and combined with safety best practices, hoyer lift manual this article compiles a clear and practical operating guide for manual/electric Hoyer Lift models. Whether you are a home caregiver, nursing staff, or a first-time user, be sure to read this guide thoroughly before actual operation, and always refer to the original manufacturer’s manual for the specific equipment you are using.
I. Pre-Use Preparation: Safety Starts with Details
1. Inspect Equipment Condition
Battery Level (Electric Models): Ensure the battery is fully charged to avoid power failure during transfers.
Hydraulic Oil Level and Leaks (Manual Models): If the handle feels weak when pumping or oil leaks are present, stop using the equipment immediately.
Sling: Check for no wear, loose threads, mildew, or unusual odors; ensure stitches are secure and the weight capacity label is clear.
Legs and Casters: Verify smooth deployment, intact locking devices, and flexible caster rotation.
⚠️ Never use a damaged sling! Even small tears can suddenly break during lifting.
2. Prepare the Environment
Clear obstacles (wires, slippers, pets, etc.) from the transfer path.
Ensure the floor is dry, level, and non-slip.
Lock the brakes of the target seat (wheelchair, commode chair).
Draw curtains or use room dividers to protect the patient’s privacy.
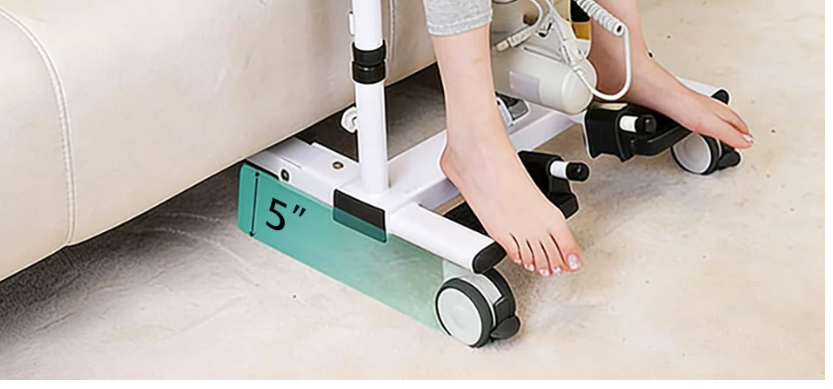
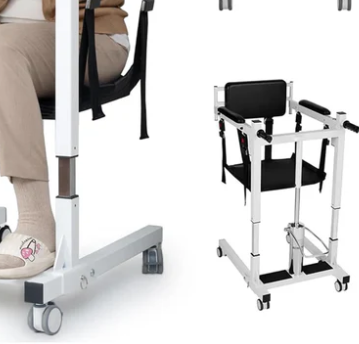
II. Deploy the Base and Lock the Legs (Critical Safety Step!)
Push the Hoyer Lift to the bedside, then fully pull out the legs on both sides until you hear a "click" or see the locking pins pop out.
❗ This is the most important step to prevent the equipment from tipping forward! Unlocked legs are the most common cause of Hoyer Lift tipping accidents.
III. Properly Secure the Sling on the Patient
Assist the patient to lie on their side (if the patient cannot roll independently, two people should gently assist).
Slide the folded sling under the patient’s back, positioning it below the shoulder blades.
Pull the lower end of the sling to below the patient’s hips, ensuring it fully covers the ischial tuberosities.
Help the patient lie flat and adjust the sling position:
The leg straps should be placed at the mid-thigh; never fasten them behind the knees (popliteal fossa), as this may compress nerves.
The back straps should fit closely to the spine without twisting.
Fasten all buckles or straps—adjust the tightness to allow two fingers to fit between the strap and the patient’s body.
✅ Correct: The sling supports the entire hips and thighs.❌ Incorrect: hoyer lift manual The sling gets stuck behind the knees or only covers the edge of the hips.
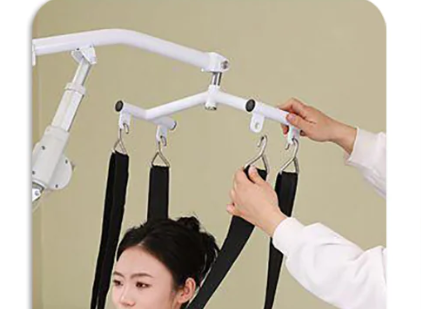
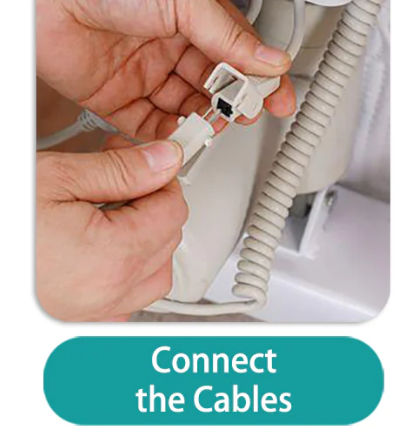
IV. Connect the Sling to the Lifting Arm
Attach all sling loops (usually 4) to the hooks on the lifting arm.
Confirm each hook is fully closed; some models have safety locks—listen for a "click" to ensure they are secured.
Gently pull the sling to test for any risk of slipping or detachment.
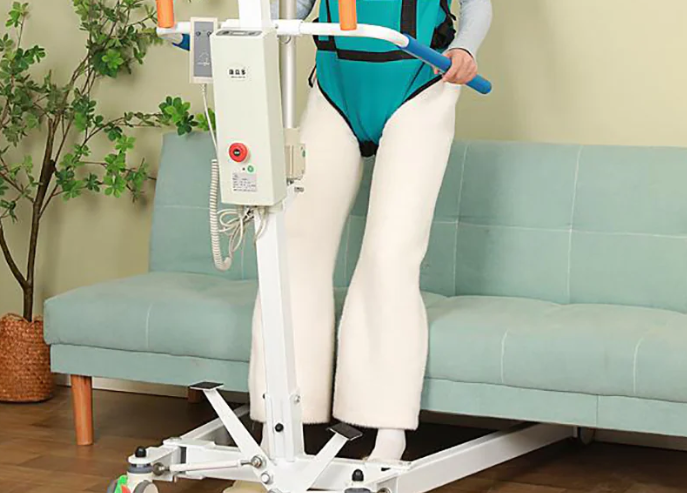
V. Lift Slowly and Perform a Low-Height Test
Electric Models: Press the "up" button on the control handle.
Manual Models: Repeatedly press the handle pump lever.
First, lift the patient 5–10 cm, then pause to check:
Is the sling slipping?
Is the patient comfortable? Do they complain of pressure or pain?
Is the equipment stable? Are there any unusual noises?
If everything is normal, continue lifting slowly to the required height (usually 10–15 cm off the ground is sufficient for movement).
⚠️ Never lift to the maximum height in one go! A low-height test helps avoid the risk of falls from high positions.
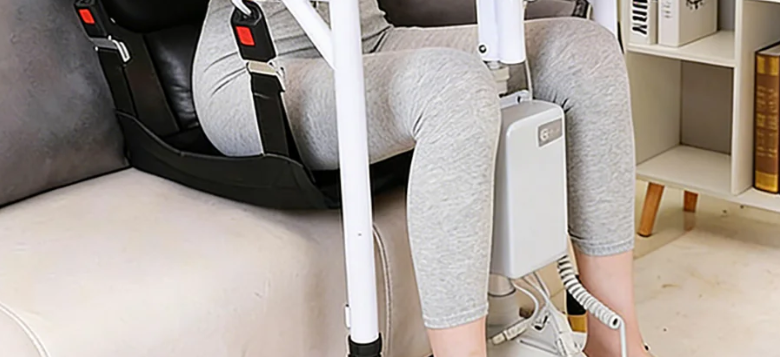
VI. Transfer to the Target Position and Lower the Patient
Slowly push the Hoyer Lift directly above the target seat (wheelchair, toilet, or shower chair).
Ensure the target seat’s brakes are locked.
Align the patient with the center of the seat, then lower them slowly.
During the lowering process, the caregiver can place one hand gently on the patient’s back to prevent forward leaning.
VII. Remove the Sling and Tidy Up
Once the patient is seated securely, unfasten the sling buckles.
Gently pull the sling out from one side (ask the patient to lean slightly to one side for assistance if needed).
Help the patient adjust their clothing and cover them with a blanket to maintain dignity.
Clean and dry the sling (if it is washable), then return the equipment to its storage location for charging (for electric models).
Common Mistakes and Safety Taboos
Incorrect Operation Risks
Legs not fully deployed or locked Equipment tips forward, causing the patient’s head to hit the ground
Sling fastened behind the knees Compresses the common peroneal nerve, hoyer lift manual leading to foot drop
Overloading (exceeding the equipment’s rated weight capacity) Structural deformation, motor overheating, sling breakage
Single-person operation for high-risk transfers (e.g., severely obese patients, patients with spasms) Loss of control, resulting in falls
Using non-original "universal slings" without weight capacity labels Mismatched interfaces, insufficient strength
Maintenance Recommendations
Daily: Inspect leg locks, casters, and the control handle.
Weekly: Clean the equipment body (wipe with a damp cloth; do not rinse the motor with water).
Every 6 Months: Replace the sling (even if it appears undamaged).
Annually: Arrange professional maintenance by an authorized service provider (especially for electric models).
Emergency Handling
Power Failure/Jamming: Immediately press the emergency stop button (red) and use the manual release valve (if available) to lower the patient slowly.
Patient Discomfort: Stop operation immediately and assess the cause.
Equipment Tipping: Do not attempt to lift the equipment forcefully; first ensure the safety of all individuals, then contact professional repair services.
Conclusion: The Manual Is Not a Decoration, but a Guardian of Safety
The Hoyer Lift user manual is more than just paper or a PDF file—it is the culmination of countless lessons learned, a safety agreement jointly developed by manufacturers, hoyer lift manual clinical experts, and regulatory authorities. Spending 10 minutes reading it may prevent a lifetime of regret.